Paver Path Installation A Comprehensive Guide
Paver path installation is a rewarding project that transforms outdoor spaces. From initial design to final maintenance, this guide covers everything you need to know to create a beautiful and functional paver path. This involves careful planning, meticulous execution, and ongoing upkeep.
We’ll explore various design options, comparing materials like concrete, brick, and flagstone. The installation process will be detailed, including ground preparation, paver placement, and securing techniques. Finally, we’ll discuss crucial maintenance steps and address common challenges, ensuring your paver path lasts for years to come.
Planning and Design
Planning a paver path involves careful consideration of various factors to ensure a functional, aesthetically pleasing, and durable outcome. A well-designed path will seamlessly integrate with the surrounding landscape, enhancing both its visual appeal and practicality. Careful planning is key to a successful project, saving time and money in the long run.
A well-conceived paver path design involves a thoughtful approach to site assessment, layout selection, and material choice. This meticulous process sets the stage for a project that meets both functional and aesthetic goals.
Site Assessment
Thorough site assessment is crucial for a successful paver path installation. This involves evaluating the existing terrain, considering factors like slope, drainage, and soil composition. Identifying potential obstacles, like utility lines or existing structures, is vital. Accurate measurements are paramount for precise path design and material calculations.
Layout Options
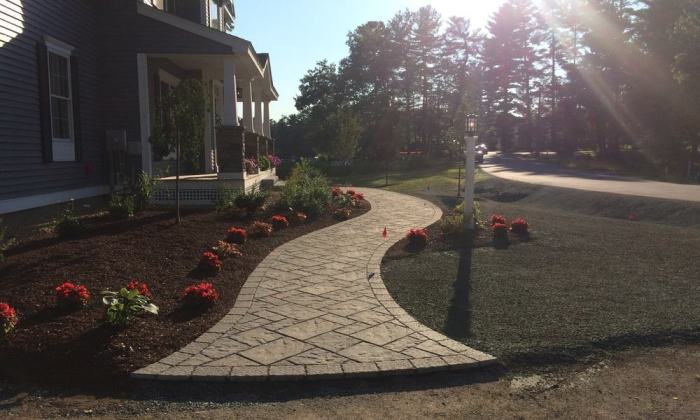
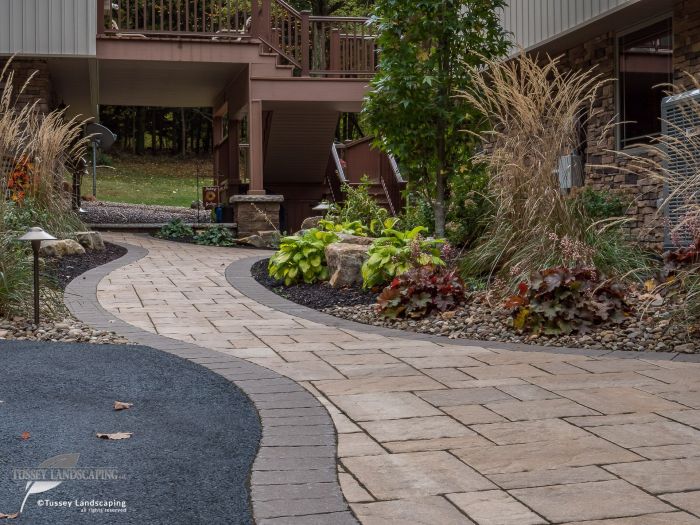
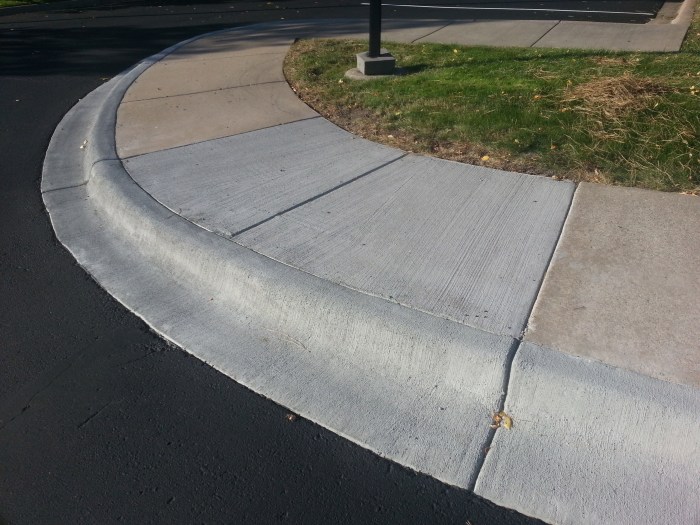
Various layout patterns offer diverse aesthetic options for paver paths. A simple, straight path can be visually striking when contrasting with the surrounding landscape. Curved paths add a dynamic element, creating a more flowing aesthetic. A combination of both straight and curved sections can yield a sophisticated and unique design. Consider the intended use of the path and the overall flow of traffic when selecting the layout.
Material Selection
Selecting appropriate paving materials is essential for durability and aesthetics. Factors such as the desired aesthetic, budget constraints, and the environment’s conditions must be considered. The choice of material directly impacts the longevity and maintenance requirements of the path.
- Concrete Pavers: Known for their durability and strength, concrete pavers come in a variety of colors and patterns, providing flexibility in design. They are a relatively affordable option and can withstand heavy foot traffic. However, they might require more maintenance to address potential staining or cracking issues.
- Brick Pavers: Brick pavers offer a classic aesthetic and are available in various colors and sizes, offering numerous design possibilities. They generally require less maintenance than concrete pavers, but their durability may vary depending on the type of brick used.
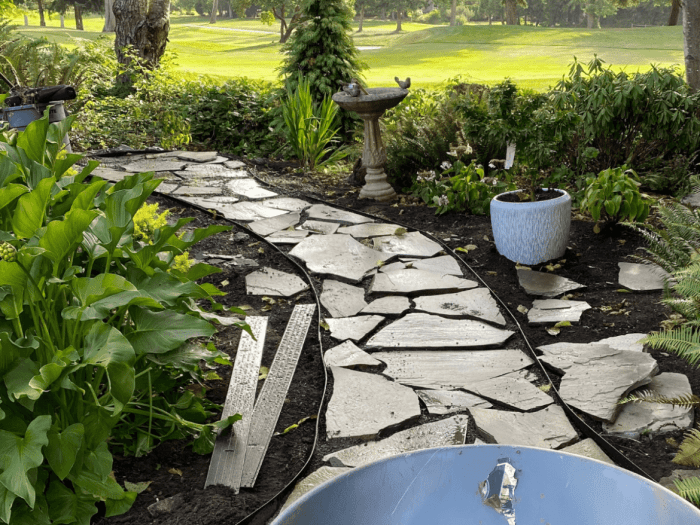
- Flagstone Pavers: Flagstone pavers provide a natural, rustic appeal. Their unique variations in color and texture contribute to a distinct look. However, flagstone pavers might require more maintenance than concrete or brick pavers due to potential weathering issues.
Essential Tools and Equipment
A well-stocked toolkit is crucial for efficient and accurate paver path installation. The proper equipment ensures the project proceeds smoothly and within budget. Appropriate tools are essential for accurately preparing the ground, setting pavers, and ensuring the path’s longevity.
- Shovel: For excavating and leveling the ground.
- Rake: For smoothing and leveling the base.
- Level: For ensuring the path is laid at the proper grade.
- Trowel: For spreading sand or other bedding materials.
- String Line: For laying out the path’s perimeter.
- Paver Lifter: For assisting with lifting and positioning pavers.
- Hand tamper: For compacting the base.
- Wheelbarrow: For transporting materials.
- Measuring tape: For accurate measurements and layout.
Paving Stone Comparison
A comparative analysis of different paving stone types can aid in informed decision-making. This table articulates key characteristics, facilitating the selection of the ideal material for the project.
| Material | Durability | Cost | Maintenance |
|---|---|---|---|
| Concrete | High | Moderate | Moderate (potential staining, cracking) |
| Brick | Medium to High | Moderate | Low (relatively easy to clean) |
| Flagstone | High (depending on type) | High | Moderate (potential weathering, staining) |
Installation Procedures
Preparing a suitable base is crucial for a long-lasting and aesthetically pleasing paver path. Proper ground preparation minimizes future issues like uneven settling, cracks, and drainage problems. Careful attention to detail during this phase will significantly impact the overall quality and longevity of the finished project.
Ground Preparation, Paver path installation
Thorough ground preparation is essential for a stable and durable paver path. This involves excavating, compacting, and addressing drainage to ensure the pavers rest on a solid, level foundation. The following steps Artikel the process.
- Excavation: Carefully excavate the area to the specified depth, typically 6-8 inches, to accommodate the base layers. Remove any existing vegetation, topsoil, and debris. Uneven areas should be leveled using a grading tool. This process ensures a consistent base for the pavers.
- Compaction: After excavation, thoroughly compact the sub-base material. This process eliminates air pockets, creating a solid and stable base for the pavers. Repeated passes with a vibrating plate compactor are generally required for adequate compaction.
- Drainage Considerations: Proper drainage is vital to prevent water pooling and potential damage. Install a layer of gravel or crushed stone, often 2-3 inches deep, for effective drainage. This layer allows water to seep through and prevents water accumulation under the pavers. Consider slope and grade to direct water away from the path.
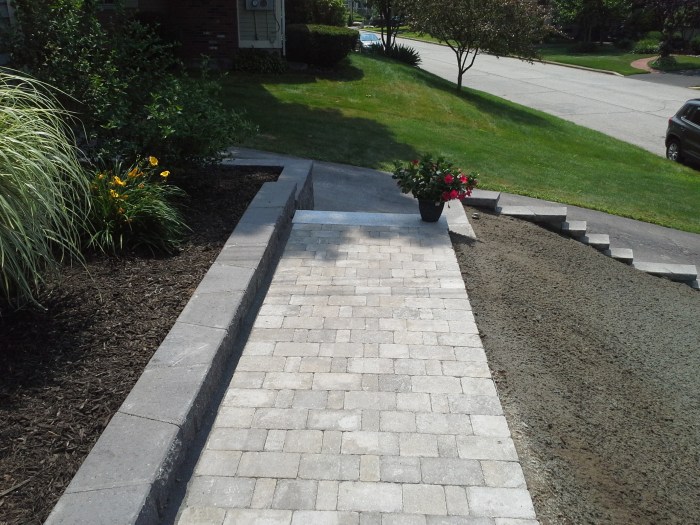
Paver Installation
Installing the pavers requires precision to achieve a visually appealing and functional path. Adherence to alignment, spacing, and leveling guidelines is essential.
- Alignment: Establish accurate lines and markings for the paver path. Use string lines or a laser level to ensure a straight and even path. This process ensures the path follows the intended design.
- Spacing and Leveling: Carefully space and level the pavers using a level and spacers. Ensure a consistent spacing between the pavers. The level will ensure even alignment of each paver to create a smooth and attractive path. Using spacers maintains the specified gap between pavers.
- Laying the Pavers: Lay the pavers in the planned order, ensuring they fit together properly. Adjust each paver to achieve the desired alignment and level. This process is crucial to creating a stable and visually appealing path.
Securing Pavers
Various methods exist for securing pavers, each with its advantages and disadvantages.
- Sand Bedding: A common method, sand bedding involves filling the spaces between the pavers with sand. This method is relatively inexpensive and easy to implement. However, the sand can shift over time, requiring periodic maintenance.
- Mortar Grout: Using mortar grout provides a more permanent bond, enhancing the stability of the pavers. This approach offers long-term durability and a visually appealing finish; however, the initial cost is slightly higher.
- Epoxy Grout: For high-traffic areas or applications requiring exceptional durability, epoxy grout provides the most secure and permanent bonding. It’s highly resistant to wear and weather but carries a higher initial cost.
Troubleshooting
Paver installation can present challenges. The table below highlights potential issues and their solutions.
| Challenge | Troubleshooting Steps |
|---|---|
| Uneven Settling | Check for uneven compaction, re-compact the sub-base, and adjust paver placement. |
| Cracks in the Pavers | Examine the sub-base for settlement, and if necessary, re-compact the sub-base and adjust the paver placement. |
| Drainage Issues | Verify proper drainage slopes, and if necessary, adjust the gravel layer and slope of the path. |
| Shifting Pavers | Check for inadequate bedding material; re-bed the pavers with additional sand or mortar. |
Maintenance and Considerations
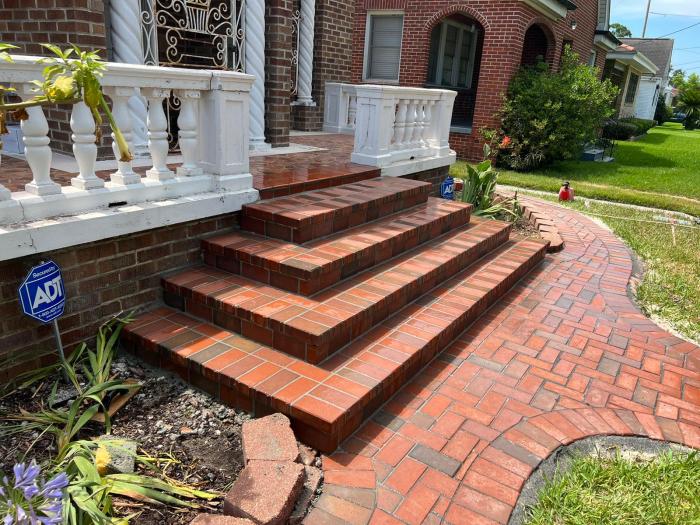
Source: mudbugpavers.com
Proper maintenance is crucial for the longevity and aesthetic appeal of your paver path. Regular upkeep prevents costly repairs and ensures your investment remains a beautiful and functional feature of your property. Addressing potential issues promptly will also maintain the integrity of the paver installation.
A well-maintained paver path requires a proactive approach. This involves understanding potential problems and implementing appropriate solutions to prevent costly repairs. Routine cleaning, sealing, and addressing minor issues proactively can extend the lifespan of your paver path, preserving its visual appeal and structural integrity.
Cleaning Procedures
Regular cleaning is essential for maintaining the pristine appearance of paver paths. Dirt, debris, and other contaminants can accumulate over time, impacting the aesthetic quality and potentially accelerating deterioration. Effective cleaning methods prevent the buildup of grime and extend the lifespan of the paver path.
- Sweep or Vacuum: Begin by removing loose debris like leaves, twigs, and small stones using a broom or a specialized paving cleaner. A vacuum can also effectively collect fine dust and debris.
- Pressure Washing: For tougher grime and buildup, a pressure washer can be used, but care should be taken to avoid damaging the pavers. Use a low-pressure setting and direct the water spray carefully, avoiding concentrated blasts.
- Specialized Cleaners: For stubborn stains or persistent dirt, specialized paver cleaning solutions can be applied. Follow the manufacturer’s instructions carefully for optimal results.
Sealing Options and Considerations
Sealing paver paths protects the pavers from the elements, preventing moisture penetration and extending their lifespan. Different sealing options offer varying benefits and drawbacks, each with its unique characteristics. Choosing the right sealant is essential for achieving optimal protection and longevity.
- Acrylic Sealers: These sealers are popular for their relatively low cost and ease of application. They provide a moderate level of protection against moisture and staining. However, they may not be as durable as other options and may require more frequent reapplication.
- Epoxy Sealers: Epoxy sealers offer superior protection and durability compared to acrylic sealers. They are highly resistant to stains and moisture, making them ideal for high-traffic areas or areas prone to harsh weather conditions. However, they are typically more expensive than acrylic sealers.
- Polymer Sealers: These sealers combine the benefits of both acrylic and epoxy sealers, offering a balance of cost, durability, and protection. They are suitable for most applications and offer good value for money.
Repair Procedures
Addressing issues such as cracks, shifting stones, or drainage problems promptly is crucial to maintaining the structural integrity and aesthetic appeal of paver paths. Prompt action can prevent small issues from escalating into more significant problems.
- Cracks: Small cracks can be filled with a suitable patching compound, while larger cracks may require the replacement of affected pavers. Ensure the patching compound is compatible with the paver material.
- Shifting Stones: If pavers are shifting, the underlying support structure may need adjustment. This might involve leveling the base or reinforcing the support system to prevent further shifting.
- Drainage Issues: Improper drainage can lead to water pooling, potentially damaging the pavers and surrounding areas. Ensure adequate grading and drainage systems are in place to prevent water accumulation.
Environmental Impact
The environmental impact of paver path installation should be considered during the design and installation process. Sustainable options and best practices can minimize the negative effects of construction on the environment.
- Recycled Materials: Using recycled materials in paver production can reduce the demand for virgin materials and minimize the environmental footprint. This contributes to a more sustainable construction process.
- Sustainable Sourcing: Sourcing pavers from sustainable suppliers reduces the impact on natural resources. This ensures the longevity of the paver path without sacrificing the integrity of the environment.
- Minimizing Waste: Implementing waste reduction strategies during installation can minimize environmental impact. This reduces the volume of materials that need to be disposed of and promotes responsible construction practices.
Last Word: Paver Path Installation
In conclusion, a well-executed paver path installation is a testament to careful planning and precise execution. By following the steps in this guide, you can create a durable, aesthetically pleasing, and functional addition to your outdoor space. Remember to prioritize proper material selection, meticulous installation, and ongoing maintenance for the best results.